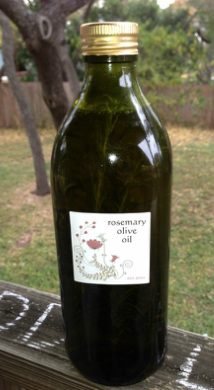
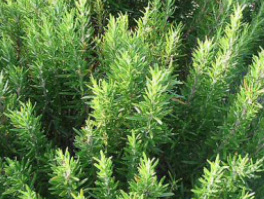
 This is ridulously easy to make, and once you make your own, you'll never turn back. Rosemary olive oil is great for sautéing, dressings, and marinades. It also makes an inspiring base for white bean dip.
Ingredients: 2 cups olive oil 2-3 sprigs rosemary Instructions: Wash the rosemary with a slightly damp washcloth and set them aside to dry. Make sure the sprigs are completely dry before combining them with the oil. Heat olive oil in a sauce pan; heat on low until warm—not hot, as you want to retain the olive oil’s healthful properties. Place rosemary sprigs into the bottle and carefully pour the warm olive oil inside. Seal the bottle with a lid or cork, and place on a window sill that receives indirect sunlight. Let the rosemary infuse into the oil for about a week.
0 Comments
We have so much lavender and rosemary growing in our front yard, and I've been hatching a plan all fall to use these plants for Christmas gifts. Making homemade bath salt is easy, and once you make it, you'll never buy store bought bath salts again.
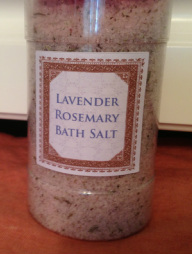 If you decide to use fresh herbs as I did, you will want to first dry the herbs for this recipe. To dry rosemary and lavender, first strip the needles from the rosemary stems. Place the rosemary needles and lavendar blooms on a sheet pan in an oven set to 225 degrees F. and heat for approximately 2 hours, or until the herbs are completely dried. Ingredients:
3/4 cup Epsom salt 1/2 cup Dead Sea salt 1 tablespoon dried rosemary 1 tablespoon dried lavender buds 1 tablespoons safflower oil 1/8 teaspoon Vitamin E oil 8 to 10 drops of lavender essential oil Yield: 12 oz. Instructions: Combine ingredients in a bowl and mix well. Transfer to an airtight container, and allow it to rest for a couple of days. This will give the herbs time to infuse the salts with their aroma. Add a handful of bath salts to warm bath water. Relax and enjoy!  These are great, easy Christmas presents! I had 4 x 4 tiles left over from my shower installation, so hooray for repurposing. The process is almost idential to the Alphabet Blocks, with an added step of finishing the project with a spray polyurethane varnish that makes the coasters waterproof.
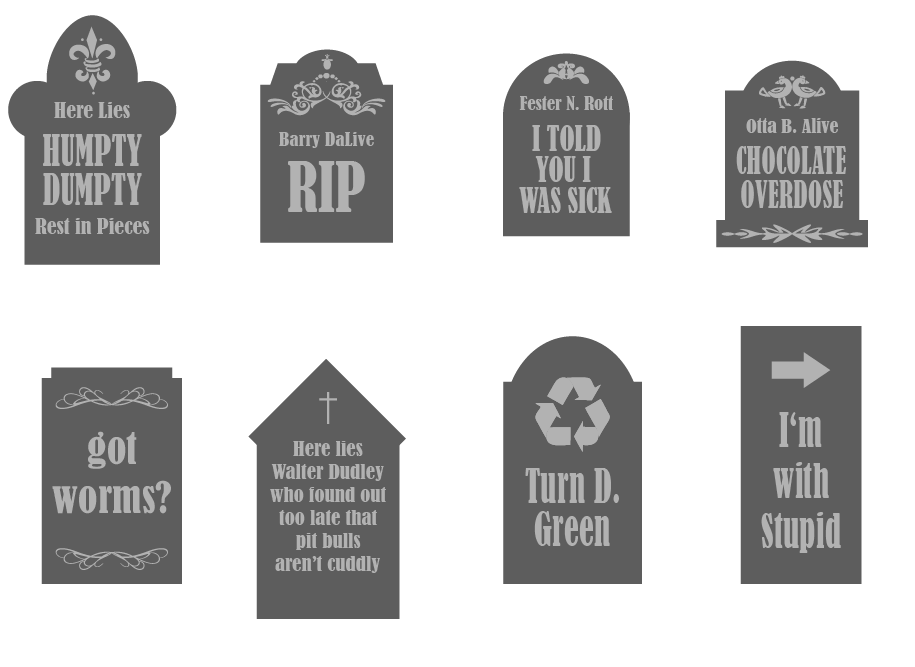
Supply list: Photos cut 1/4 less wide and tall than your tiles Tiles Scissors or cutting board Small foam brush Mod Podge glue -- matte or glossy Sandpaper Mod Podge sealent -- matte or glossy Spray polyurethane Felt pads Instructions: Cut photos to fit tiles, leaving an 1/8 inch border on each side. Use a foam brush to apply a thin layer of Modge Podge glue to the tile and adhere the photo. Let dry. Sand the edges of the tiles if they are rough. Lightly spray each block with Mod Podge sealent. Apply 4 thin coats of sealent, allowing to dry between coats. Apply 2 thin coats to the top and sides of the coaster, allowing to dry between coats. Add felt pads on each corner to protect surfaces. See more Christmas projects 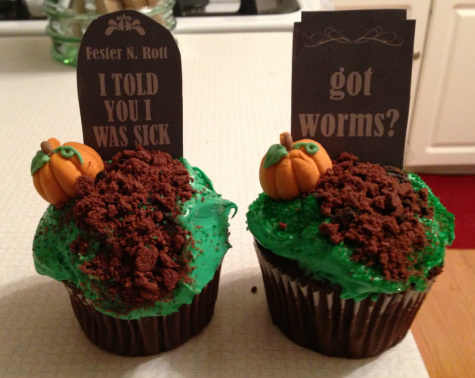 Ingredients: 12 chocolate cupcakes (I depend on Martha Stewart’s recipe) 1 batch white icing (also Martha’s recipe), dyed with green food coloring Green sprinkles (optional) Chocolate cookies, processed in a blender/chopper/food processor to yield 3/4 cup 1-2 pieces white cardstock 6-inch lollipop sticks, cut in half Tape Miniature candy corn pumpkins Instructions: Frost the cupcakes, and let them set in the refrigerator for 20 minutes. If you'd like a more grassy texture, sprinkle with green sprinkles. Next, arrange processed cookie crumbs to make a recently-buried plot, then insert a tombstone in the cupcake at the head of the “dirt.” Using the links below, download and print the tombstones on the white cardstock -- there are PDFs for two sides. Cut out the tombstones and tape a lollipop stick or toothpick to the back, ensuring when inserted into the cupcake the paper tombstone sits flush with the top of the cupcake. Place candy corn pumpkins next to graves. See other Halloween projects here. 10 Reasons I Love Halloween:
1. The costumes 2. The goodies 3. Halloween parties 4. Black cats -- there seem to be more at Halloween 5. Scary movies 6. Pumpkin carving 7. Ghost stories 8. Trick-or-Treaters 9. Decorations 10. A chance to be creative Here are four projects I tried from my Pinterest board for the week of Halloween: 1. Decorated the outside of our house 2. Made graveyard cupcakes for the office 3. Made treat bags for Zoe's daycare class 4. Made crazy cat lady costume
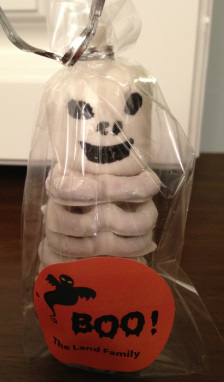
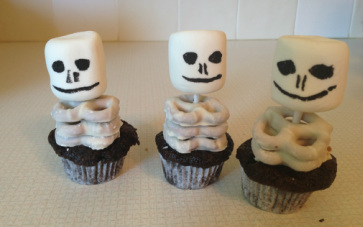
Ingredients:
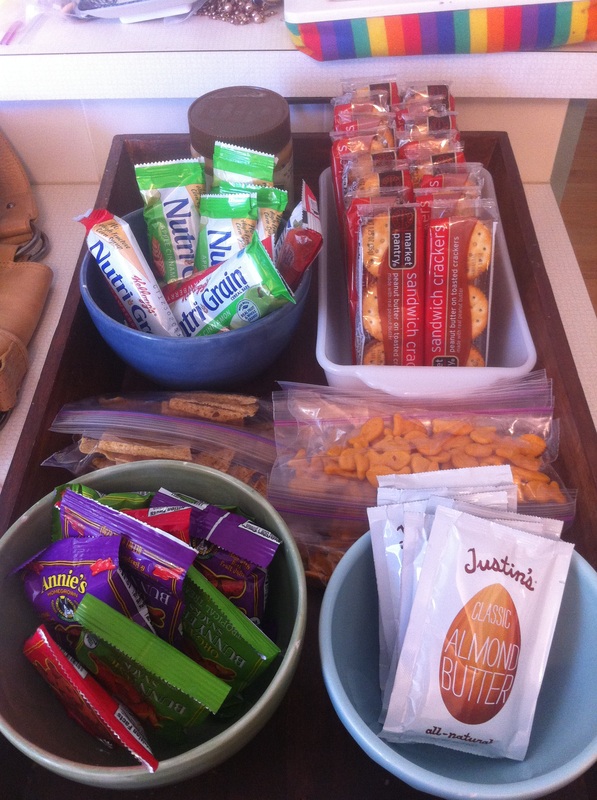
Marshmellows Edible ink pen White chocolate covered pretzels 1 recipe whole-wheat zucchini brownies Popsicle sticks Packaging of your choice Instructions: Prepare the whole-wheat zucchini brownie recipe. Line mini muffin pans with liners, and fill liners 2/3 full. Bake 10 minutes -- keep an eye on them! Let cool completely. If really moist and soft, freeze the brownies a bit. Place a popsicle stick close to the back of the brownie, and pile white chocolate pretzels through the small top hole in the pretzels. Top with a marshmallow with a cute skeleton face (drawn on by editable markers) and package for party favors. I found this great link via Pinterest at Science Cafe for SLIME! See other three Pin-Tested projects here. I made enough to share with friends with children. It made a great Halloween gift.  See other Halloween projects here.
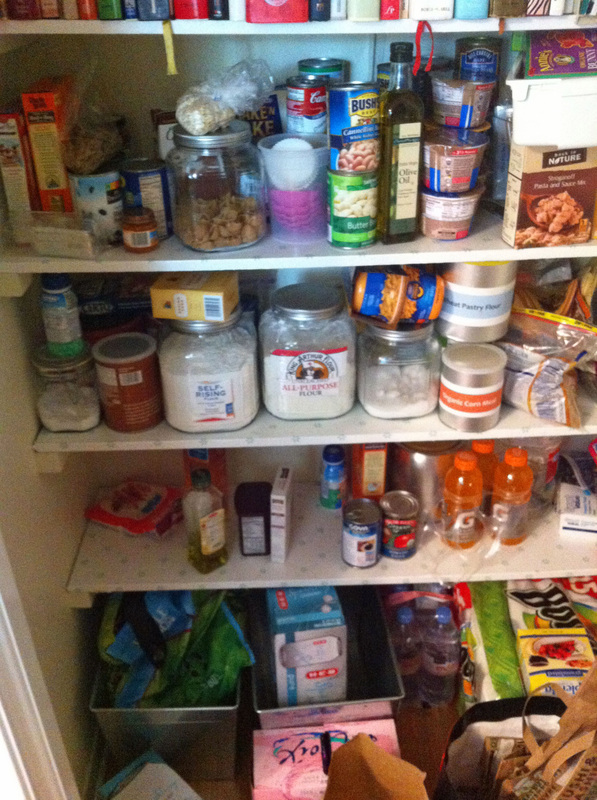
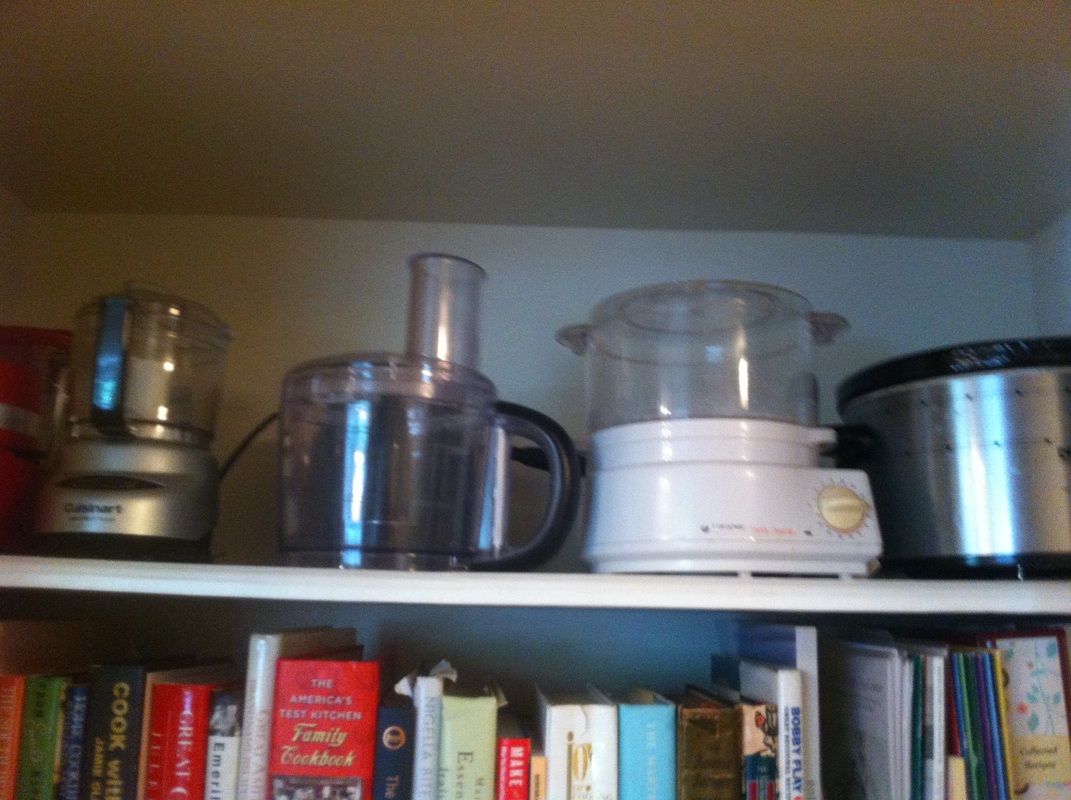
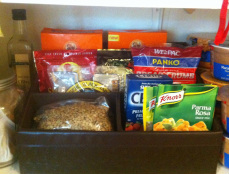
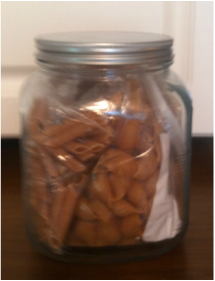
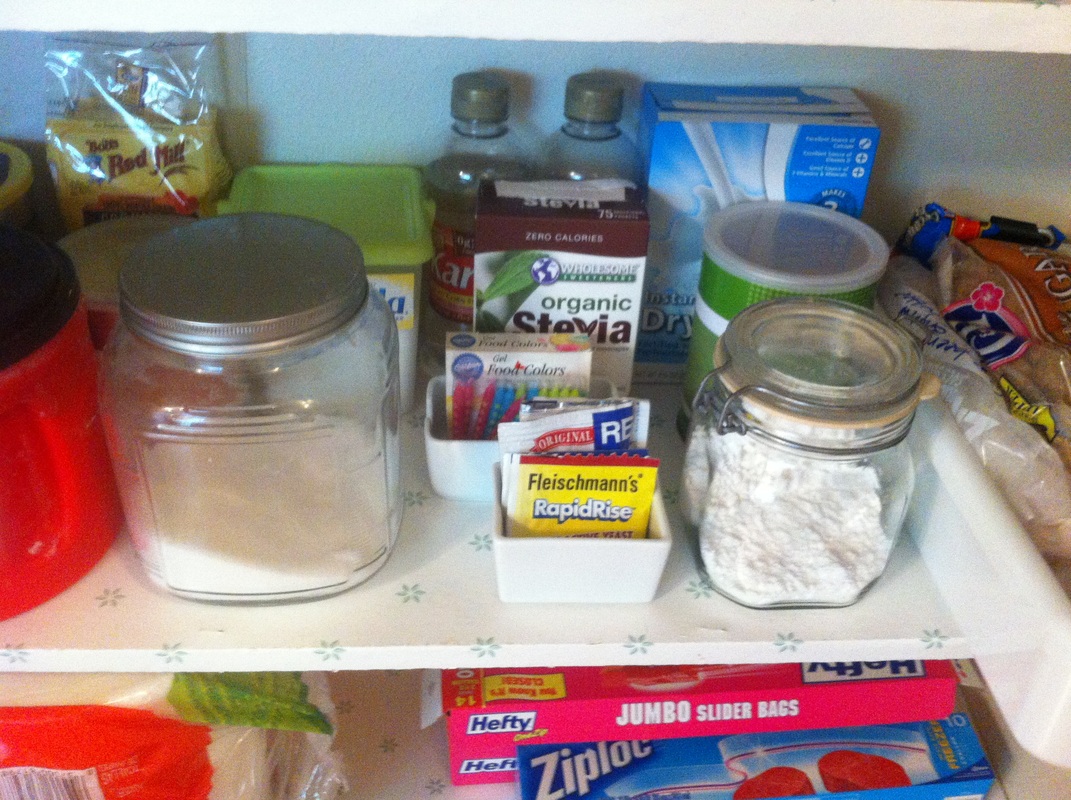
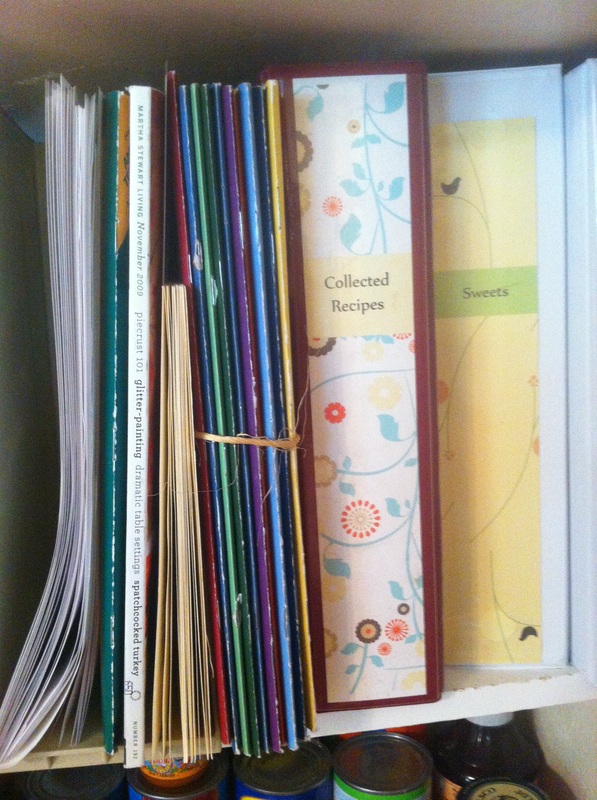
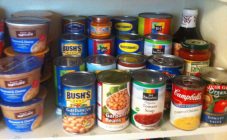
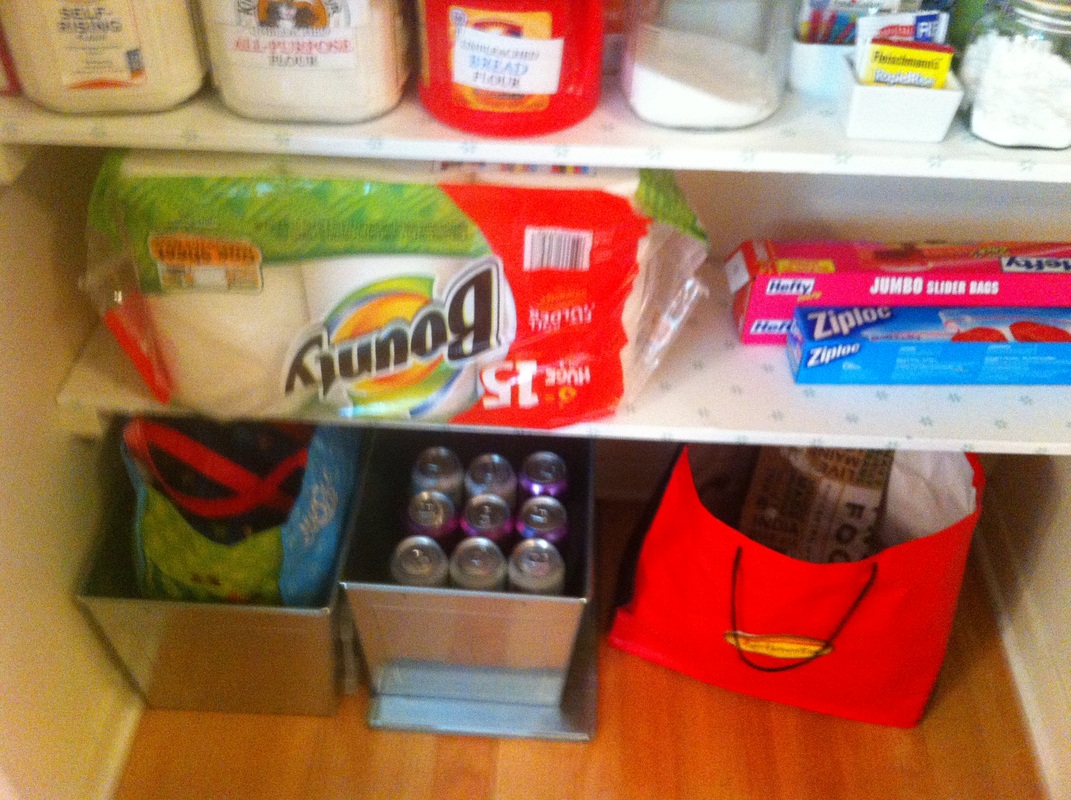
How quickly the kitchen pantry gets crazy looking! I had duplicates, and in some cases, triplicates of items. Time for a pantry do-over.
One of my goals for 2012 was to do 4 projects from my Pinterest board:
*a toddler sewing kit DONE Link to project *a mess-free finger painting DONE Link to project *a color recognition and sorting box DONE Link to project *homemade S L I M E DONE Link to project Feel free to send me your ideas!
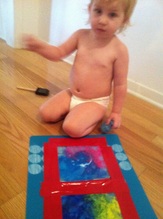
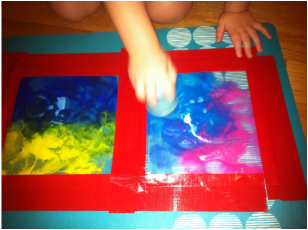
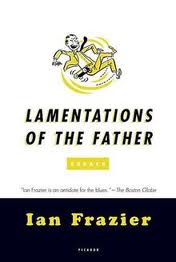
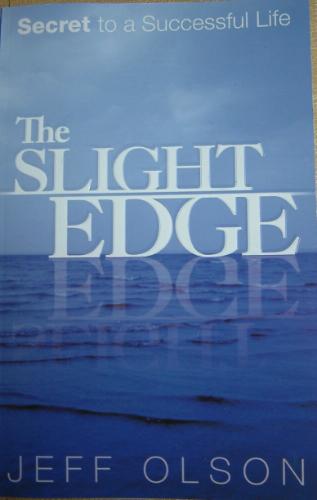
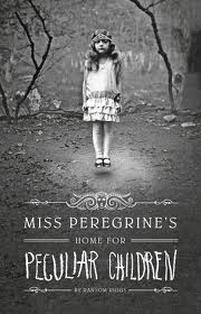
This worked great! When she was done "finger painting", she used a Q-tip to make reverse designs. SUPPLY LIST FOR THIS PROJECT: Ziplock bags Paint (I picked up some cheap acrylic paint at Joanne's for 59 cents each) Plastic placemats (look on the seasonal aisle at Target -- $1.50 each) Strong tape -- I used duct tape Q-Tips See other three Pin-Tested projects here. I am dying over these Gray Malin photographs of aerial beach views (taken from a helicopter no less!) Not only do I want to blow them up and hang them, well, everywhere, but I’m so tempted to dive right in and join all the fun. I'm collecting some ideas for Zoe's bedroom and the playroom / 2nd guest room upstairs. I'd LOVE your thoughts and comments -- feel free to email me or post comments here. I need all the design help I can get! Here's a sample of some ideas, and the rest you can find on my Pinterest board. I've read or listened to these books so far this summer, and recommend them!
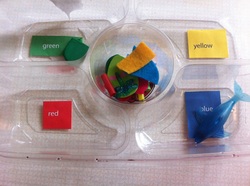 Second project from Pinterest board completed! Yahoo! Zoe had a bit more fun trying to peel the labels off than sorting the objects in the dividers! But she did sort them pretty accurately on her first try, and stayed with it for 15 minutes or so ... which in toddler time is, like, 4 hours, right?
|
|


 RSS Feed
