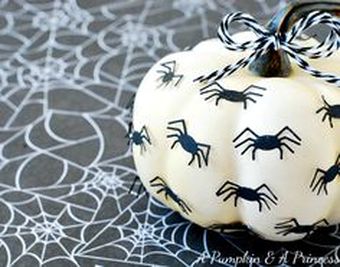
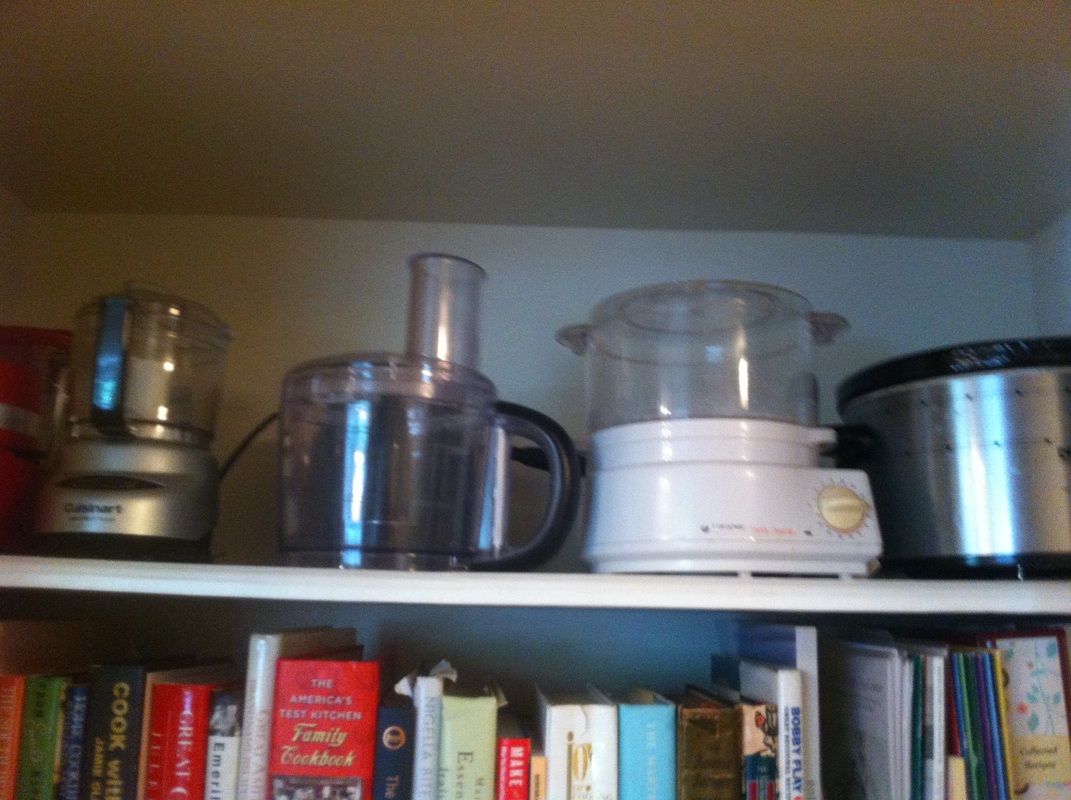
Halloween kicks off the maker/crafter/seamstress time of the year, and I don't mind admitting it is my favorite holiday of the year. Here are the projects I have planned:
I'll be sure to link the projects as I get them finished -- help me stay accountable, will you? xxx Anna
1 Comment
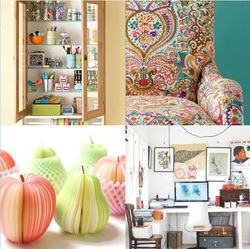 I'm so excited to be setting up a new home office and studio upstairs. I've been collecting ideas on my Pinterest boards for quite some time, and here are the critical elements I have been considering: color, whimsy, order, inspiration, comfort, and multifunctional. Please feel free to send me your ideas and suggestions!
 Have you met Charlotte? She's got a fabulous blog at www.handmadecharlotte.com, full of DIY, décor, and toddler ideas. Here are some of my favorite posts from her site:
Thought I might share my favorite household products made from scratch. These all link to my Pinterest board, "Frugality." Note: These are the only pins I have personally tested AND recommend.
Steam cleaner solution and all-around great cleaner Laundry stain remover Liquid fabric softener Teeth whitener 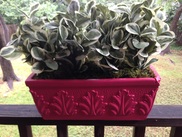 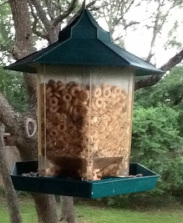 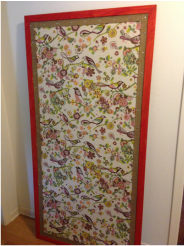 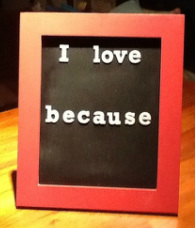  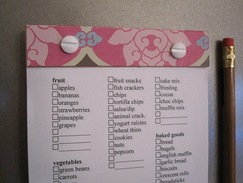 Make a fridge grocery list tear off pad DONE! 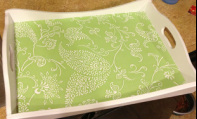 Redo a breakfast tray for guests
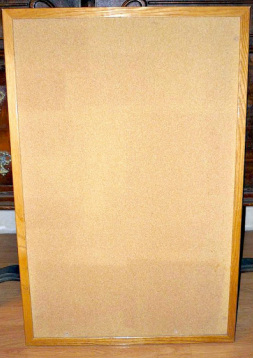
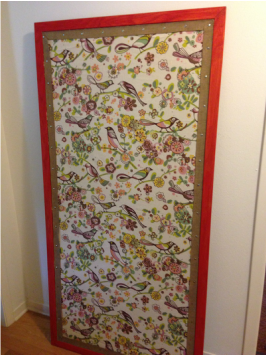
DONE! I'm not the first person ever to do this, so while my post is a tutorial, I'm sure you can find lots of other tutorials on the web! Now all I have to do is get two strong guys to help me hang it!
Supplies: Old bulletin board Acrylic craft paint and brush Fabric Iron or steamer (optional) Stapler and staples Exacto Ribbon (I used burlap ribbon found here) Thumbtackes How I Slogged Through It: First, I painted the trim. The acrylic paint allows the wood grain to show through, which made it look like a bright cherry stain. Use another kind of paint if you don't want the wood grain to show through. I used only one coat and it looked exactly as I wanted it. Don't worry if the paint gets on the cork; you want to make sure the inside of the trim is painted also, and the fabric will cover the paint on the cork. 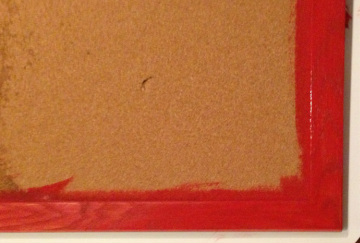 Next, I stapled the fabric to the cork, getting as close to the edge as possible. Again, don't worry about being perfect -- you will be covering it with ribbon. Once stapled taut, I cut the excess fabric with an exacto knife. 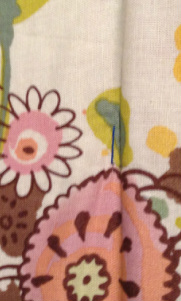 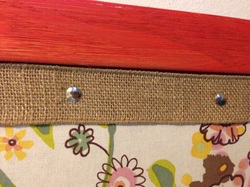 Finally, I tacked down my ribbon with the thumbtacks.
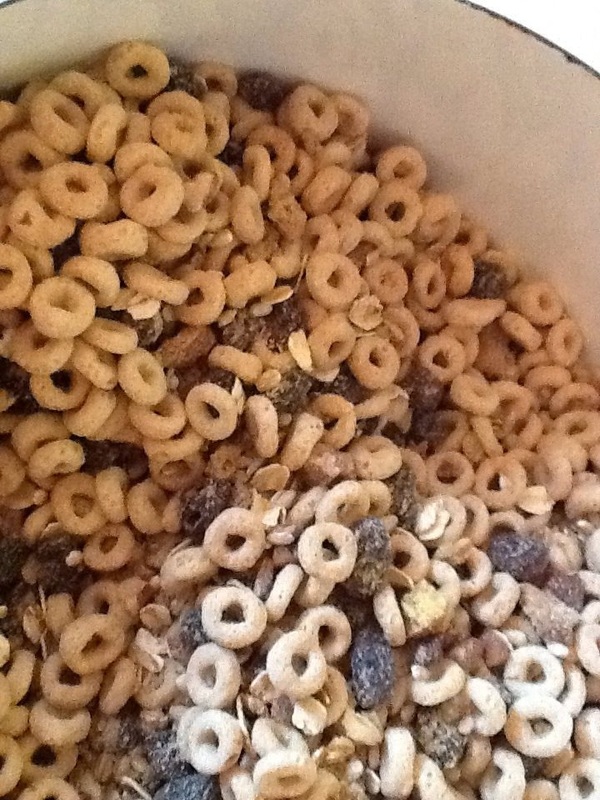
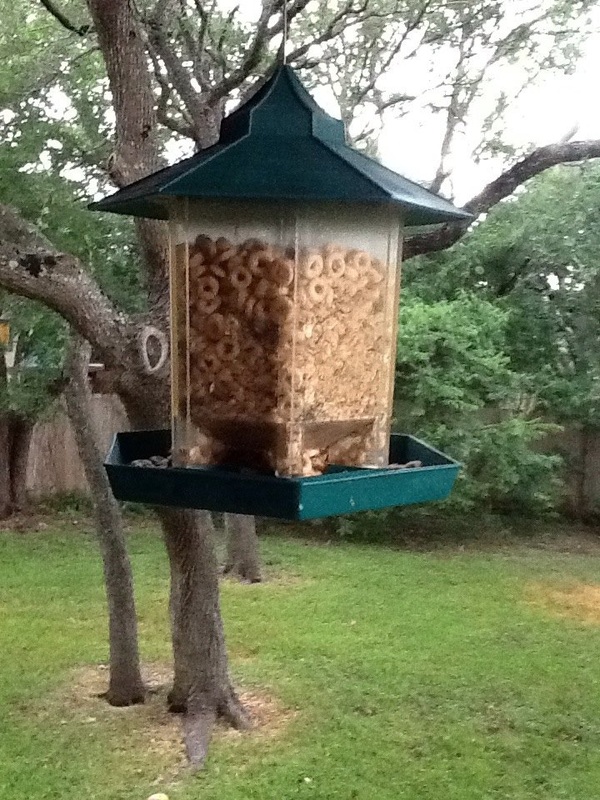
Was able to make my own birdseed today using the languishing ingredients from my pantry: raisins, stale cheerios, pecans, flax seed, rolled oats, bulghur wheat, wheat germ, and leftover crackers.
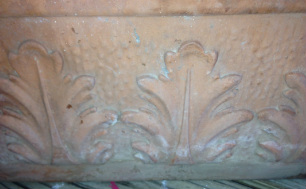
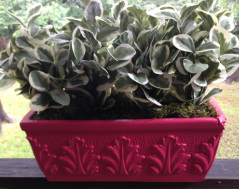
If unintentional plant-slaughter was a crime, I'd be locked away for a long time. I've tried over the years to master houseplants, herbs, flowers -- you name it. But all have died a swift death at my hands. Consequently, I have a collection of old planters and flowerpots that I avoid looking at in the garage lest I feel a pang of guilt. I decided to repurpose them with fake plants. Yes, fake plants have come a long way, and these that I bought at Joanne's look very lifelike. Guilt gone, more room in the garage.
Supplies:
Old flowerpot Paintbrush Paint Floral foam Fake moss Fake plants How I Slogged Through It: This was really simple. I painted the outside of the pot and let dry. I put floral foam in the bottom, plugged in the fake plants, and covered the foam with fake moss.  Excited to read Neil Gaiman's new book, The Ocean at the End of the Lane. I love all of his work, and especially recommend Anansi Boys, The Graveyard Book, and American Gods. 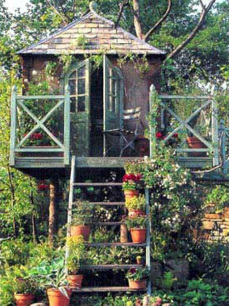 My neighbor Robert is going to build a treehouse for Zoe this fall. I'm collecting ideas on my Pinterest board and would love your ideas also. I want it to be something that will grow with her, a getaway she can still use in high school if she wants.  Speaking of her treehouse, wouldn't this be a great lighting idea? And a great way to use up all those fabric scraps. I look forward to making these mini fabric lamps. 
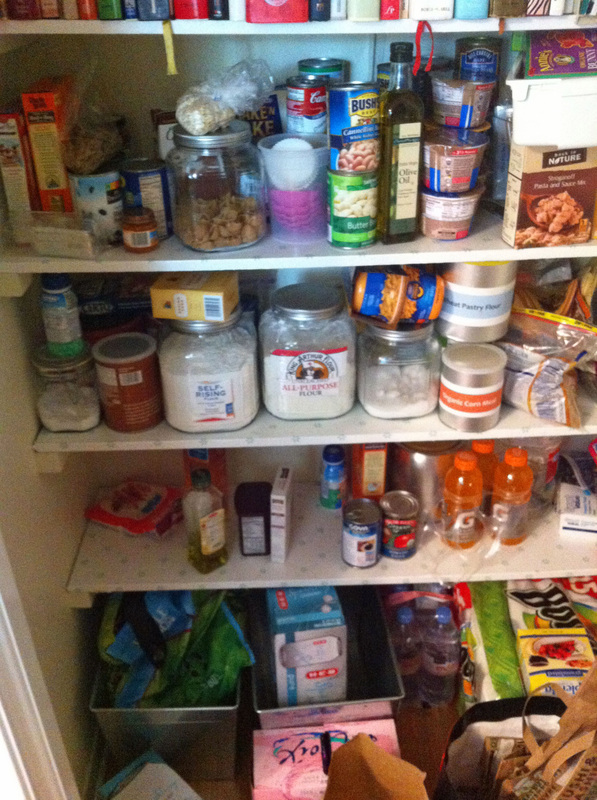
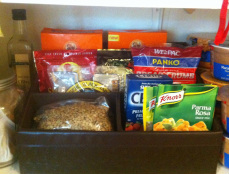
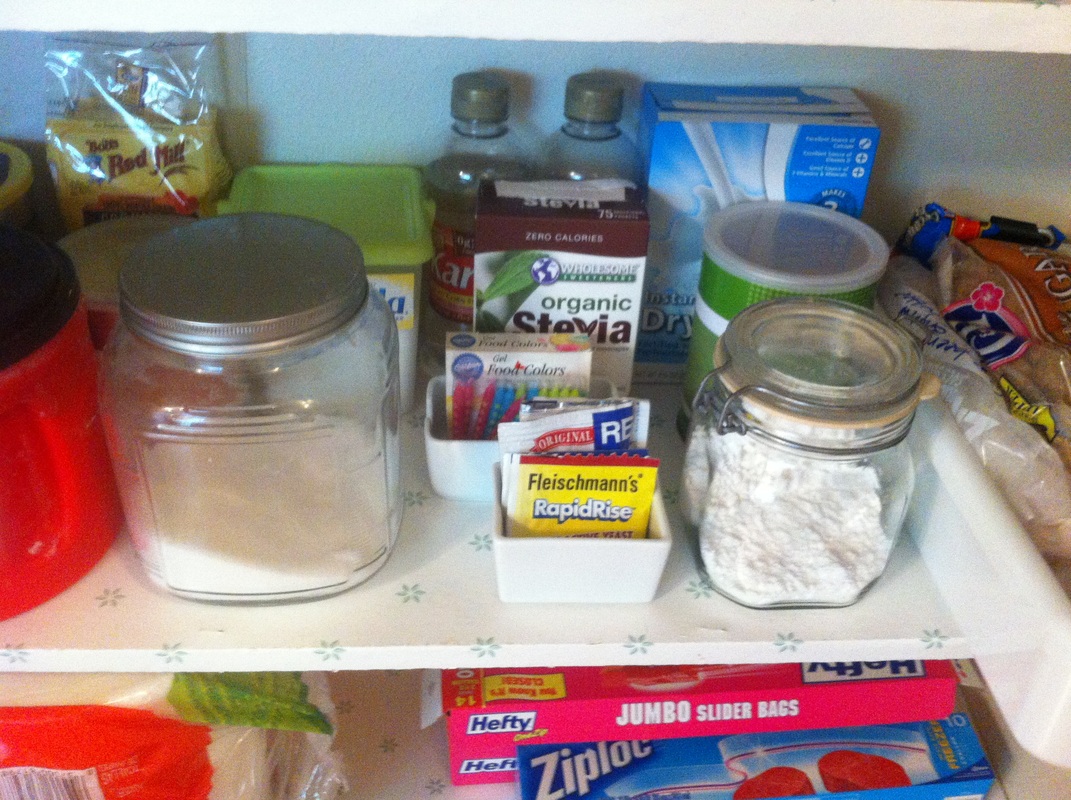
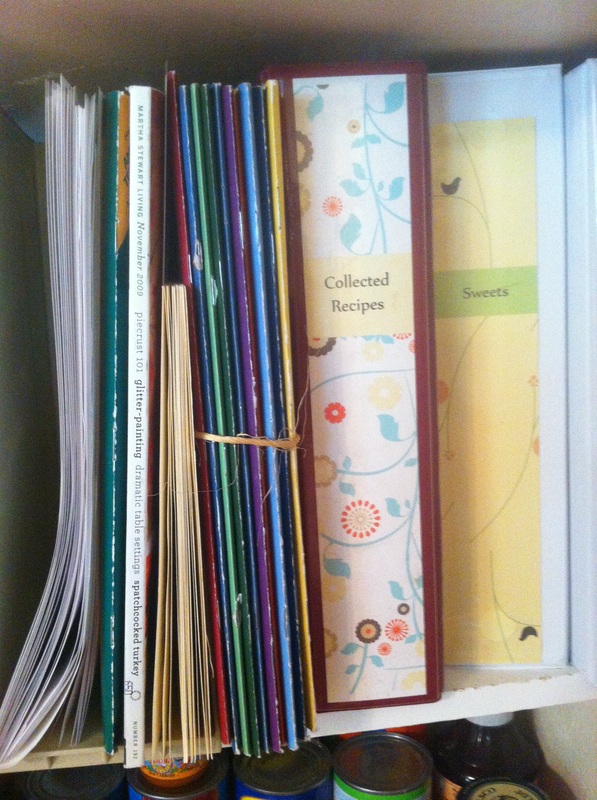
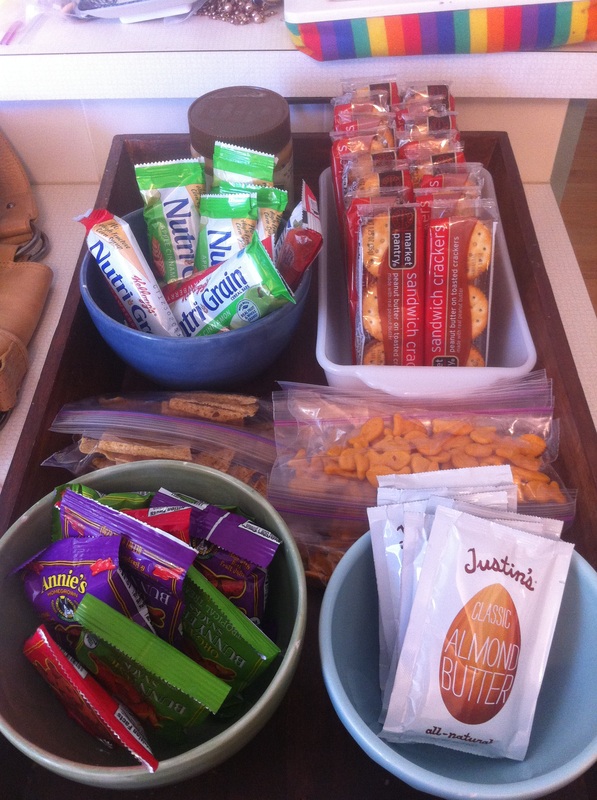
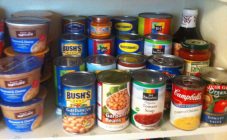
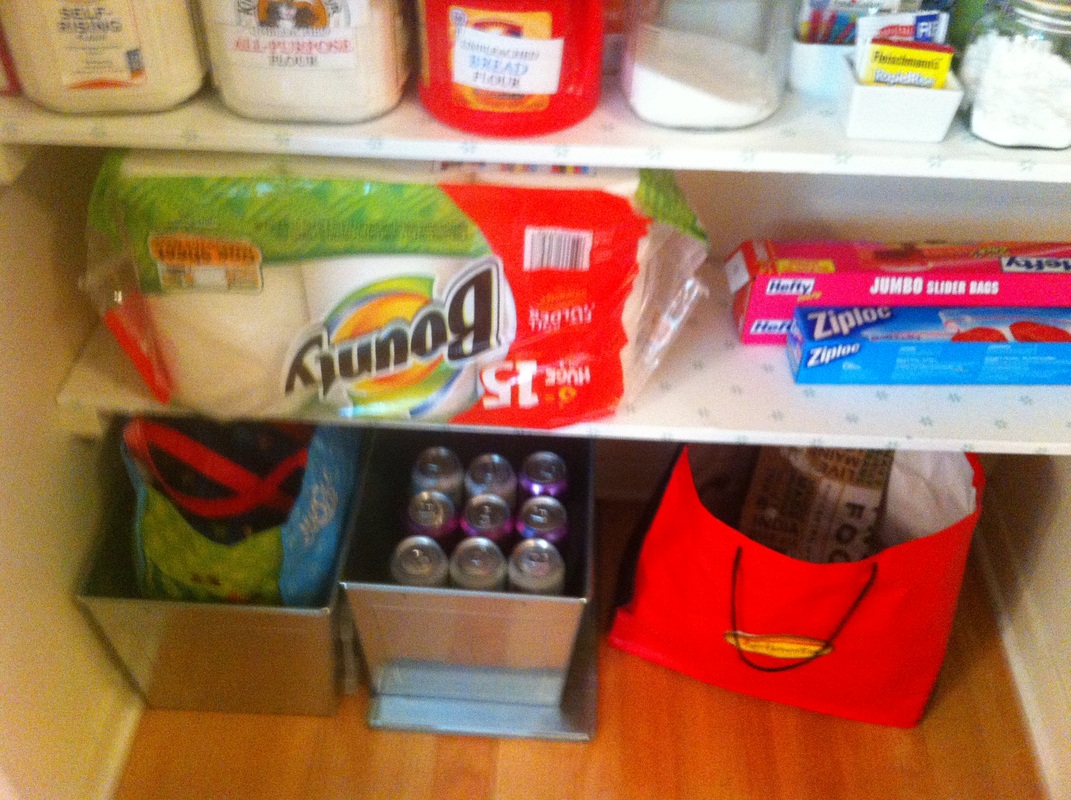
How quickly the kitchen pantry gets crazy looking! I had duplicates, and in some cases, triplicates of items. Time for a pantry do-over.
 I've been slowly working my way through renewing furniture in my house -- see related post here about candidates for renewal. 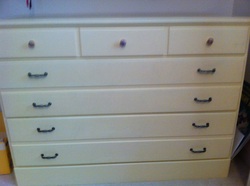 BEFORE: This is a great little dresser, but the color was a little too primary for my taste, and there were missing and mismatched hardware. AFTER: I painted it a butter yellow and added new hardware. 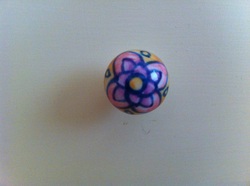 Close-up on the knobs that I found at World Market. 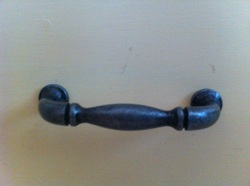 And a close-up on the new brushed nickel pulls I found on Amazon. This was the hardest part -- the size was an irregular 2 1/2 instead of standard 3 inches.
I am admiring these placemats and napkins from Home and Garden Art and these coffee mugs from Target.  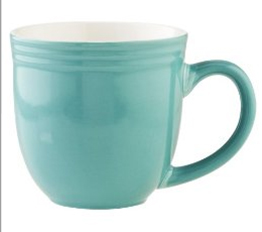 I stumbled across this post about 24 Free Splash Pads in Austin from the fabulous Free Fun in Austin website. (http://www.freefuninaustin.com) I think we'll take Zoe to the one at the Triangle and enjoy the farmer's market as well.  After staying the night in a hotel last week (what a luxury for a new mom) I'm thinking that blackout curtains will help Zoe get to bed at a reasonable hour this summer.  I'm wondering if Austin artist Lisa Marie Concannon from luluxo will accept a commission to upcycle our tshirts and baby clothes into one of her amazing creations? 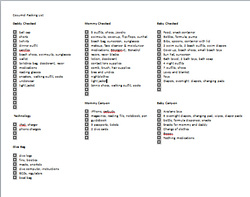 I've started our diving/family packing list which you're welcome to download and personalize.
|
|

 RSS Feed
