|
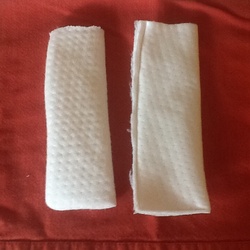
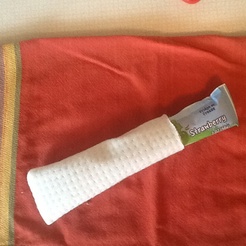
I've experimented with several different fabrics, and I've found that my repurposed waterproof mattress cover worked the best for these popsicle / frozen yogurt holders. I sewed the shiny part on the inside, quilted part on the outside.
1 Comment
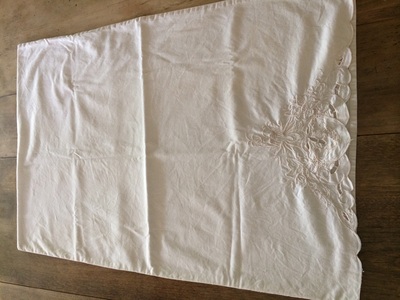
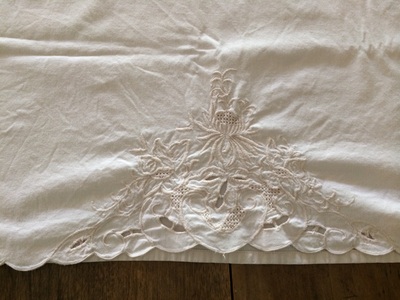
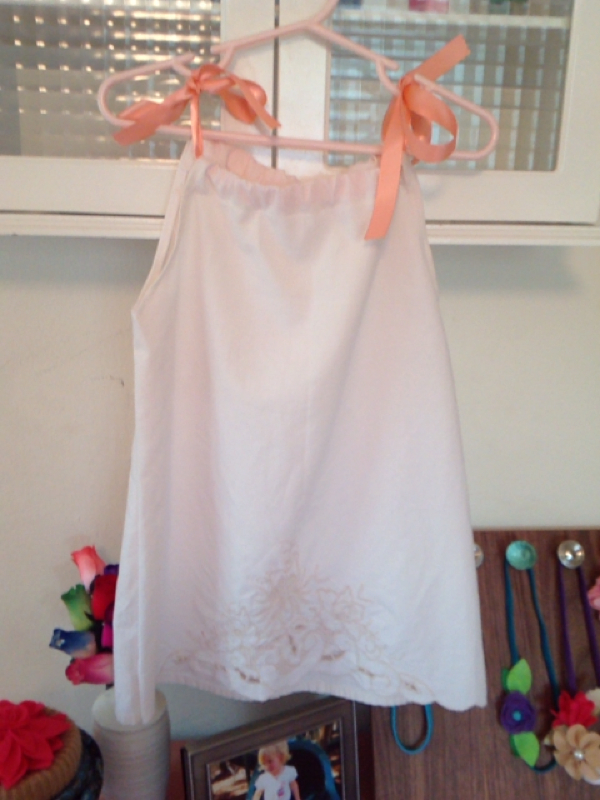
My mother gave me two gorgeously embroidered pillowcases she says are too short for standard pillows. I transformed one of them into a sweet pillowcase dress for Zoe using the free pattern and tutorial from Sew Sweet Patterns. (LINK)
Goodwill, how do I love thee?
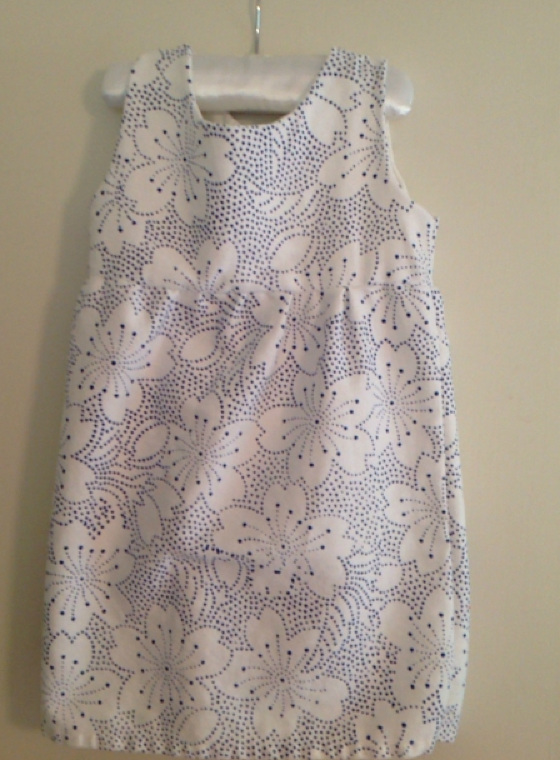
Not only have I been buying every wool sweater in stock at Goodwill to turn into wool felt, I also have picked up some great fabrics to upcycle in my quest to learn to sew. This sweet dress was once a curtain. (Bonus, didn't have to hem the bottom of the dress!) Found a great free pattern and tutorial (LINK) on the Burdastyle website. Here is the first dress I made for Zoe!!
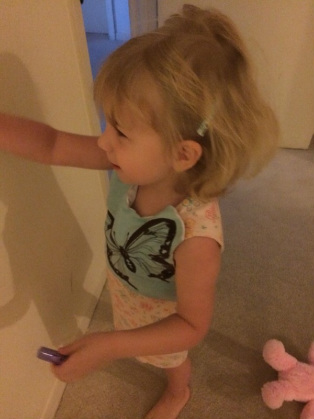
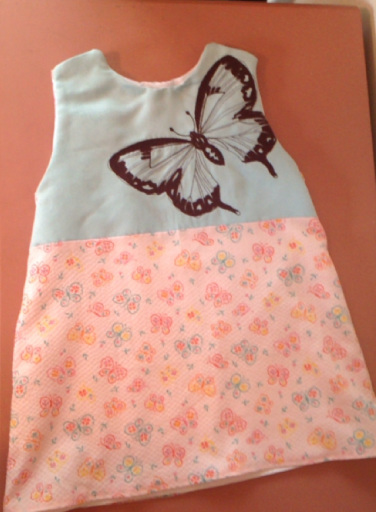
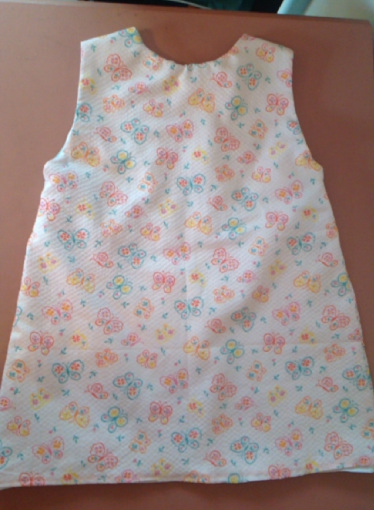
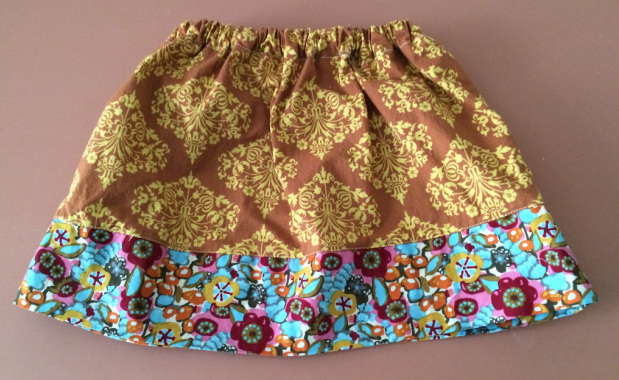
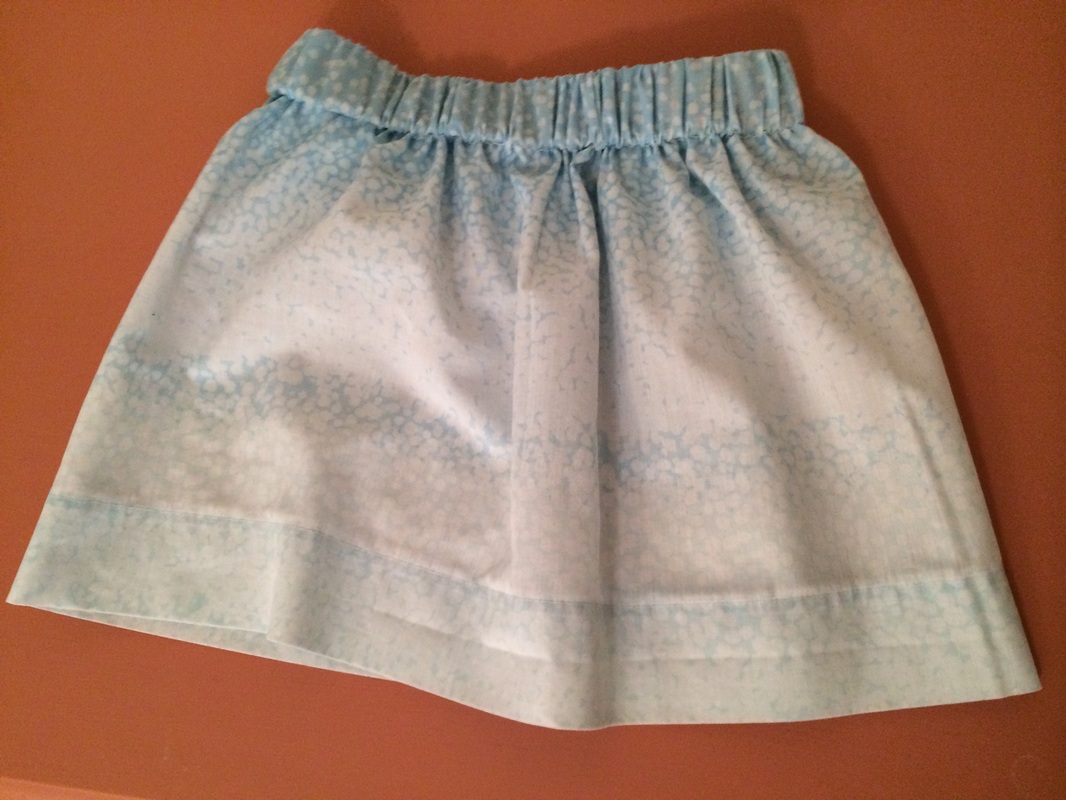
I found the free pattern and tutorial at Small Dream Factory (LINK). The butterfly fabric was given to me by my friend Beverly, and the blue suede butterfly fabric was actually one side of a throw pillow. I lined it with fabric from an old, soft sheet. Are you ready to make some of the easiest skirts ever? Then head over to the MADE website and check out this easy tutorial.l (LINK) You can easily make these for adults or children -- and no pattern required!
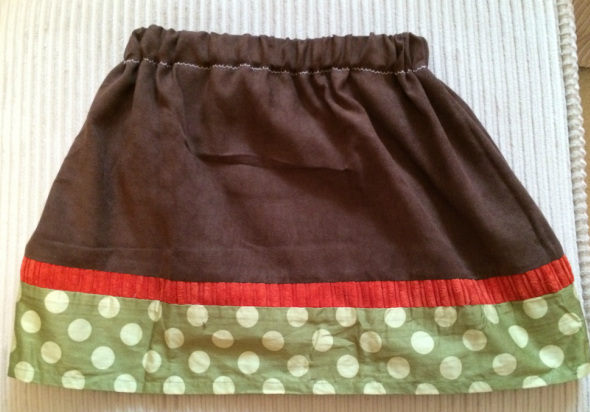
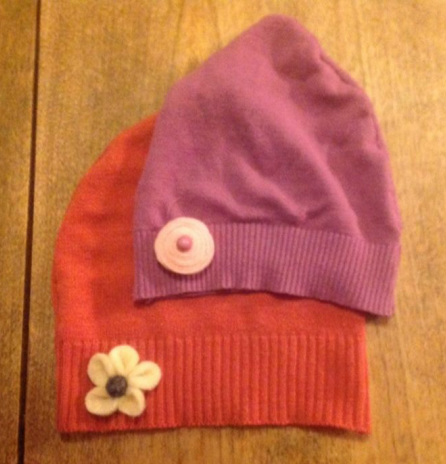
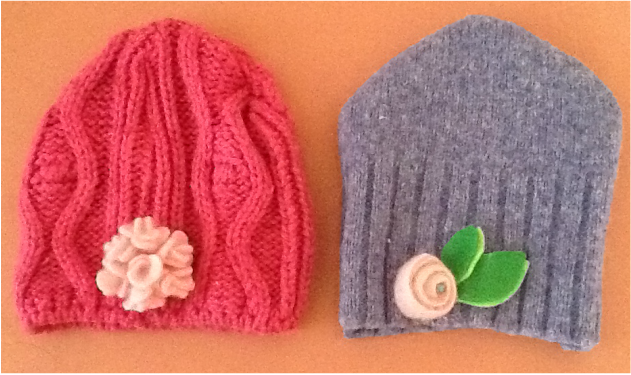
I used the following fabrics: old starry sky bed sheet, a brown and green valance found at Goodwill for $1, and fabric leftover from another project. Super easy project, using old sweaters and felt flowers. Easy tutorial here, and lots of felt flower tutorials on my Pinterest board.
Supplies:
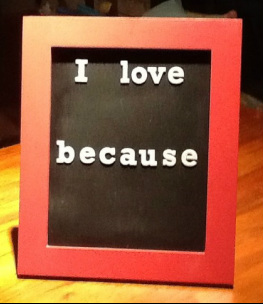
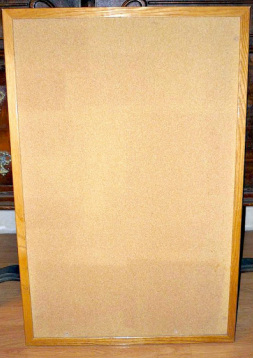
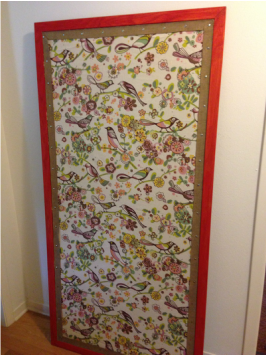
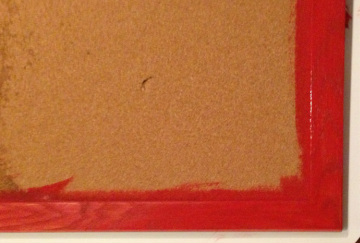
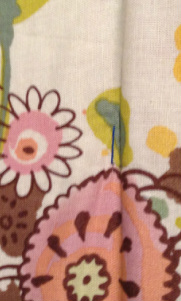
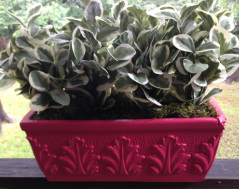
Old photo frame with glass Paint and paintbrush Chalkboard spray paint (got mine here) Vinyl letters (got mine here Instructions: Paint / redecorate your old frame. Spray the glass with chalkboard paint, let dry. Affix vinyl letters. Now I'm just waiting to get my colored chalk in the mail so I can begin writing love notes to my family! I'm not the first person ever to do this, so while my post is a tutorial, I'm sure you can find lots of other tutorials on the web! Now all I have to do is get two strong guys to help me hang it! Supplies: Old bulletin board Acrylic craft paint and brush Fabric Iron or steamer (optional) Stapler and staples Exacto Ribbon (I used burlap ribbon found here) Thumbtackes How I Slogged Through It: First, I painted the trim. The acrylic paint allows the wood grain to show through, which made it look like a bright cherry stain. Use another kind of paint if you don't want the wood grain to show through. I used only one coat and it looked exactly as I wanted it. Don't worry if the paint gets on the cork; you want to make sure the inside of the trim is painted also, and the fabric will cover the paint on the cork. Next, I stapled the fabric to the cork, getting as close to the edge as possible. Again, don't worry about being perfect -- you will be covering it with ribbon. Once stapled taut, I cut the excess fabric with an exacto knife. 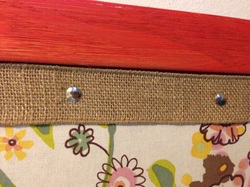 Finally, I tacked down my ribbon with the thumbtacks. If unintentional plant-slaughter was a crime, I'd be locked away for a long time. I've tried over the years to master houseplants, herbs, flowers -- you name it. But all have died a swift death at my hands. Consequently, I have a collection of old planters and flowerpots that I avoid looking at in the garage lest I feel a pang of guilt. I decided to repurpose them with fake plants. Yes, fake plants have come a long way, and these that I bought at Joanne's look very lifelike. Guilt gone, more room in the garage. Supplies:
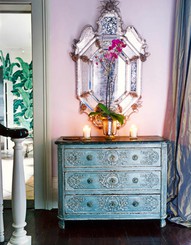
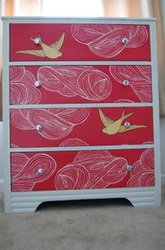
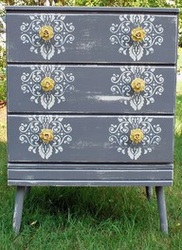
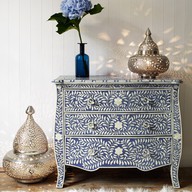
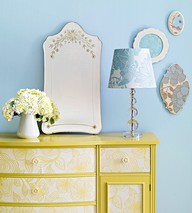
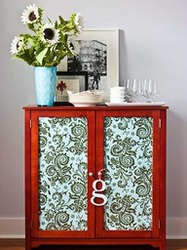
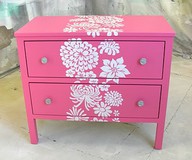
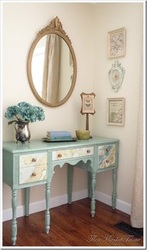
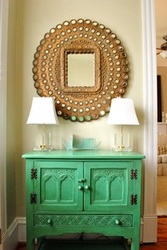
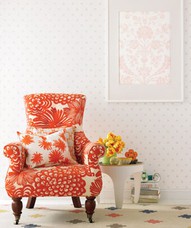
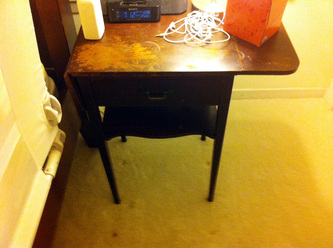
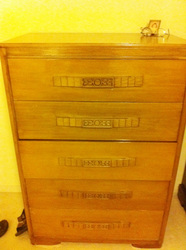
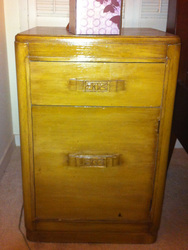
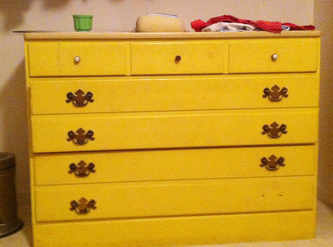
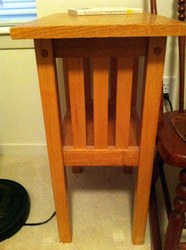
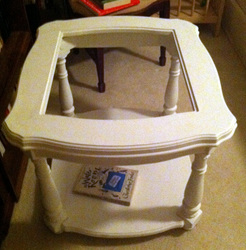
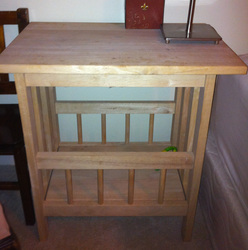
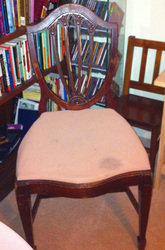
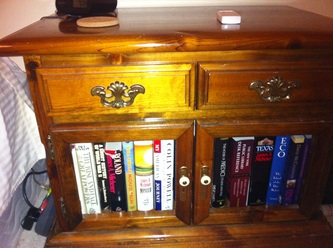
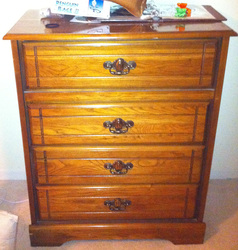
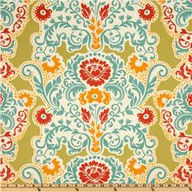
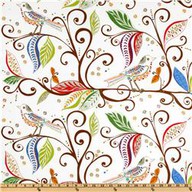
Old flowerpot Paintbrush Paint Floral foam Fake moss Fake plants How I Slogged Through It: This was really simple. I painted the outside of the pot and let dry. I put floral foam in the bottom, plugged in the fake plants, and covered the foam with fake moss. 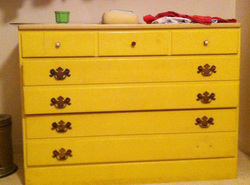 I've been slowly working my way through renewing furniture in my house -- see related post here about candidates for renewal. 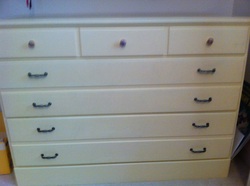 BEFORE: This is a great little dresser, but the color was a little too primary for my taste, and there were missing and mismatched hardware. AFTER: I painted it a butter yellow and added new hardware. 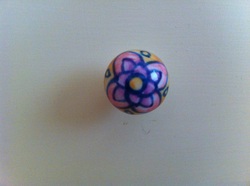 Close-up on the knobs that I found at World Market. 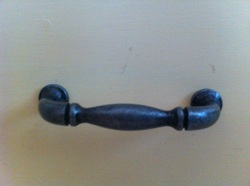 And a close-up on the new brushed nickel pulls I found on Amazon. This was the hardest part -- the size was an irregular 2 1/2 instead of standard 3 inches. Match Game! I've taken pictures of the first wave of furniture makeovers I'd like to do in the next two quarters. Now that the weather has finally broken, I can get out on the back porch to do some painting. Here are some treatments I've found on the web that I admire: Here are pieces of furniture in my home that will need a makeover: And here are some of my favorite paint colors and fabrics: I would really, really like some advice on this set of furniture makeovers. Can you help me match the old with the new idea? Please leave a comment!
|
|


 RSS Feed
