|
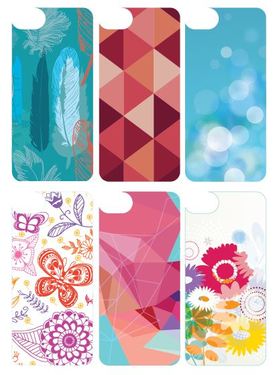
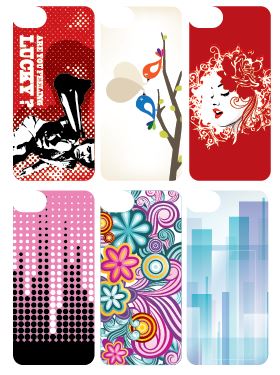
I love the designs of the iPhone 5 cases, but they are so expensive. I found some translucent and clear cases at Amazon (LINK), and now I can change out my designs whenever I want. Feel free to download the case templates below. All of the vector graphics were found at www.dryicons.com.
1 Comment
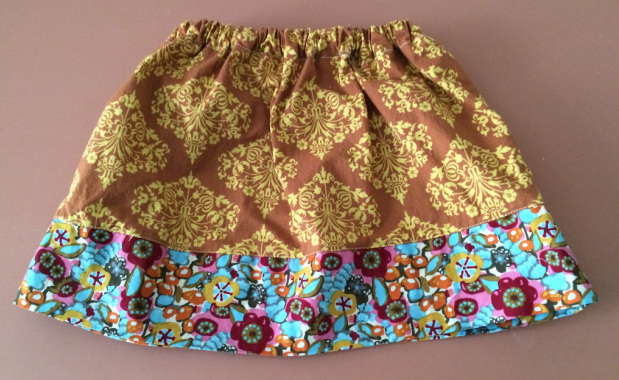
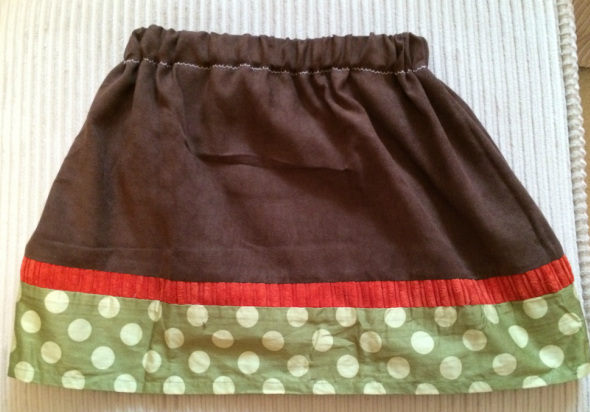
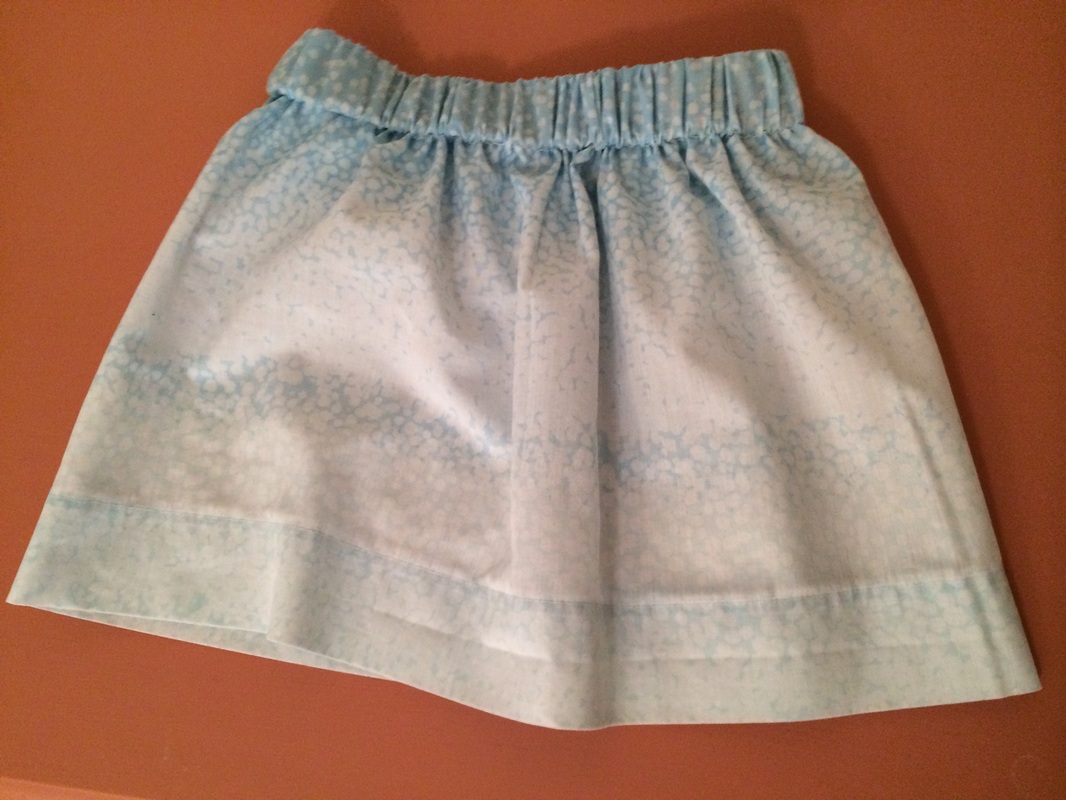
Are you ready to make some of the easiest skirts ever? Then head over to the MADE website and check out this easy tutorial.l (LINK) You can easily make these for adults or children -- and no pattern required!
I used the following fabrics: old starry sky bed sheet, a brown and green valance found at Goodwill for $1, and fabric leftover from another project. Supplies:
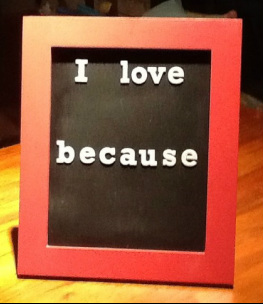
Old photo frame with glass Paint and paintbrush Chalkboard spray paint (got mine here) Vinyl letters (got mine here Instructions: Paint / redecorate your old frame. Spray the glass with chalkboard paint, let dry. Affix vinyl letters. Now I'm just waiting to get my colored chalk in the mail so I can begin writing love notes to my family! These are great, easy Christmas presents! I had 4 x 4 tiles left over from my shower installation, so hooray for repurposing. The process is almost idential to the Alphabet Blocks, with an added step of finishing the project with a spray polyurethane varnish that makes the coasters waterproof.
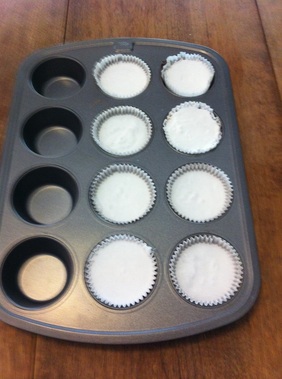
Supply list: Photos cut 1/4 less wide and tall than your tiles Tiles Scissors or cutting board Small foam brush Mod Podge glue -- matte or glossy Sandpaper Mod Podge sealent -- matte or glossy Spray polyurethane Felt pads Instructions: Cut photos to fit tiles, leaving an 1/8 inch border on each side. Use a foam brush to apply a thin layer of Modge Podge glue to the tile and adhere the photo. Let dry. Sand the edges of the tiles if they are rough. Lightly spray each block with Mod Podge sealent. Apply 4 thin coats of sealent, allowing to dry between coats. Apply 2 thin coats to the top and sides of the coaster, allowing to dry between coats. Add felt pads on each corner to protect surfaces. See more Christmas projects Vicks stopped making the vapor shower pucks that soooo helped with allergies and congestion. I ran across a pin on Pinterest that described how to make your own pucks at home. You know, it's hit or miss with me with things I've found on Pinterest, but this one really did turn out. (That's my batch above!)
You can find the original link here. I recommend using the baking method she updated her blog with. My first batch (just drying overnight) was more crumbly than the second batch (baked.) I'm thinking about making them next time in mini muffin pans and giving as gifts! If you make them, let me know how they turn out! |
|

 RSS Feed
